 “Ledger.com/start”
If you are new to cryptocurrency or want to secure your digital assets, a hardware wallet is one of the safest options. Ledger is one of the most trusted brands in the market, offering devices like the Ledger Nano X and Ledger Nano S Plus. The official starting point for using a Ledger device is Ledger.com/start. This page provides a step-by-step guide to help you set up your device securely and manage your cryptocurrency safely. Understanding and following these steps is crucial to protect your funds from theft or loss.
What Is Ledger.com/start?
Ledger.com/start is the official setup portal for all Ledger hardware wallets. Whether you are a beginner or experienced user, this page is designed to guide you through the secure installation and setup process. It ensures that you are downloading authentic software, initializing your device properly, and creating a secure recovery method for your crypto assets.
By using Ledger.com/start, you avoid common risks like downloading fake wallet apps, installing malicious software, or following unsafe setup instructions from unverified sources.
Why Start at Ledger.com/start?
Cryptocurrency security depends heavily on proper setup. A Ledger hardware wallet keeps your private keys offline, which protects your crypto from online attacks. However, if you do not set it up correctly, these security features cannot protect you. Ledger.com/start ensures that you:
Download the official Ledger Live app
Install or update firmware safely
Generate and store your recovery phrase securely
Learn the correct steps to manage your crypto
Avoid scams and fake downloads
Starting from the official page gives you confidence that your wallet is secure from the very beginning.
Step 1: Unbox and Connect Your Ledger Device
Your Ledger device comes with a USB cable, recovery sheets, and instruction cards. The first step is to connect the device to your computer using the USB cable. Once connected, the device powers on and displays instructions to continue the setup through Ledger.com/start. This ensures your device is properly recognized and ready for setup.
Step 2: Download and Install Ledger Live
Ledger Live is the official software for managing your Ledger wallet. You can download it from Ledger.com/start for Windows, macOS, or Linux. Ledger Live is essential because it allows you to:
Create and manage crypto accounts
Send and receive digital assets
Track balances and transaction history
Install apps for supported cryptocurrencies
Update device firmware
Adjust security settings
The app has a user-friendly interface that makes it simple for beginners to manage their crypto safely.
Step 3: Install or Update Firmware
Before creating your wallet, you need to install the device firmware. Ledger devices are shipped without firmware to prevent tampering during shipping. Installing firmware ensures that your device has the latest security updates and features.
Ledger Live guides you through installing or updating firmware safely. The process usually takes a few minutes, and once completed, your device will restart and be ready for wallet creation.
Step 4: Create Your Wallet and Recovery Phrase
After installing firmware, the next step is to create your wallet. During this process, your device will display a 24-word recovery phrase. This phrase is critical—it is the only way to recover your funds if your device is lost, stolen, or damaged.
To secure your recovery phrase:
Write down the words on the provided recovery sheet
Store it in a safe, private location
Do not take a photo or store it digitally
Never share it with anyone
Your recovery phrase is the master key to your wallet. If someone gains access to it, they can access your cryptocurrency.
Step 5: Set a PIN
Once your recovery phrase is secured, you will create a PIN for your Ledger device. The PIN protects your wallet from unauthorized access. Every time you connect the device to your computer, you will need to enter the PIN.
Ledger uses a randomized PIN entry system to prevent malware or keyloggers from stealing your code. Choose a PIN that is secure but easy for you to remember.
Step 6: Install Crypto Apps and Add Accounts
Ledger devices support multiple cryptocurrencies. Using Ledger Live, you can install apps for the coins you want to manage, such as Bitcoin, Ethereum, or Litecoin. Each app corresponds to a specific cryptocurrency.
After installing the apps, you can add accounts in Ledger Live. Accounts allow you to view balances, track transaction history, and manage crypto securely.
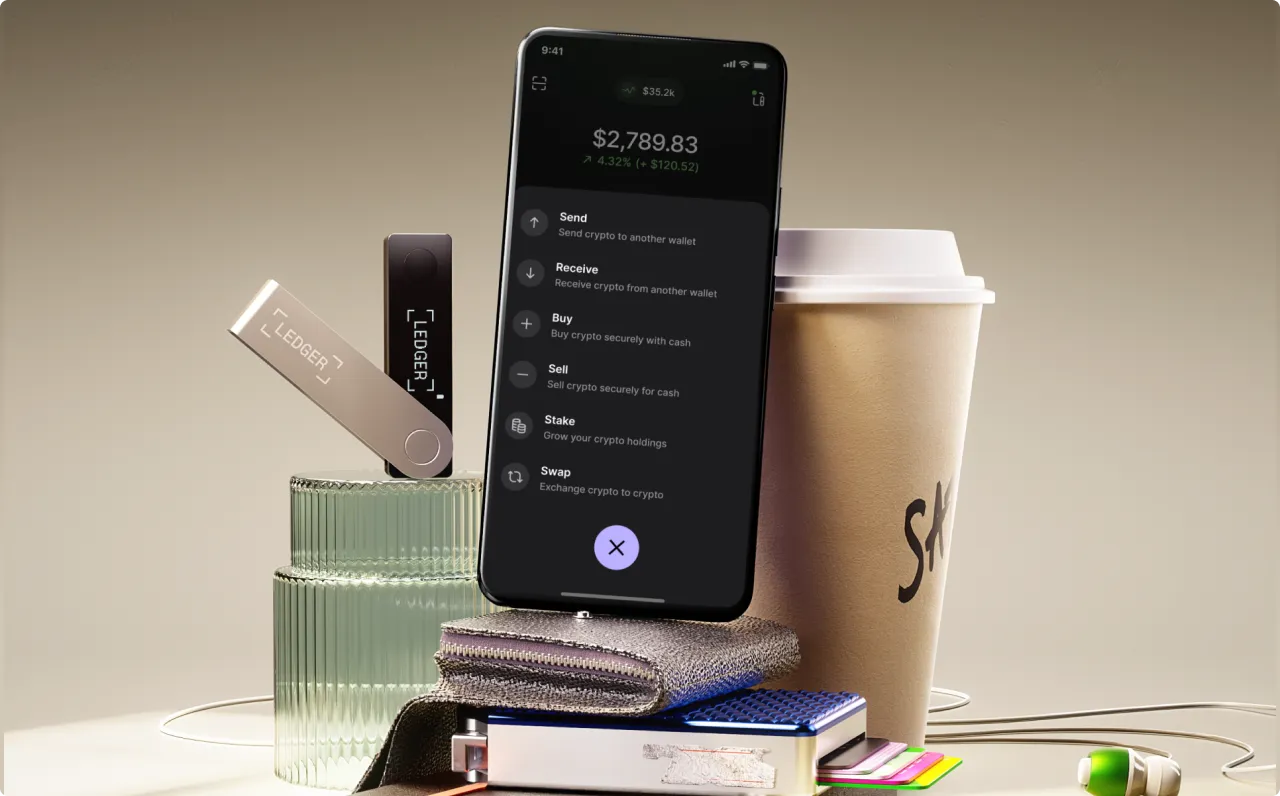
Step 7: Sending and Receiving Crypto
Once your wallet is set up, you can start sending and receiving cryptocurrency. When receiving crypto, Ledger Live generates a receiving address. Always verify the address on your Ledger device screen before sharing it. When sending crypto, confirm the transaction on the device itself. This double verification ensures that malware or hackers cannot manipulate your transactions.
Best Practices for Long-Term Security
After setting up your device via Ledger.com/start, follow these best practices to keep your crypto safe:
Store your recovery phrase offline and private
Never share your PIN or recovery phrase
Update Ledger Live and device firmware regularly
Verify addresses on your device screen before sending
Only download software from official Ledger sources
These habits help maintain the strong security your Ledger device provides.
Final Thoughts
Ledger.com/start is the safest, easiest, and most reliable way to begin using a Ledger hardware wallet. It guides you through every step—from downloading Ledger Live and installing firmware to securing your recovery phrase and setting a PIN. Following these steps carefully ensures your cryptocurrency is safe and accessible only to you.
By starting at Ledger.com/start and practicing good security habits, you can confidently manage your digital assets with one of the most trusted hardware wallets on the market.